Adding a mail account to an iPhone
- Tap the Settings
 badge on the home screen of your iPhone.
- The Settings page opens:
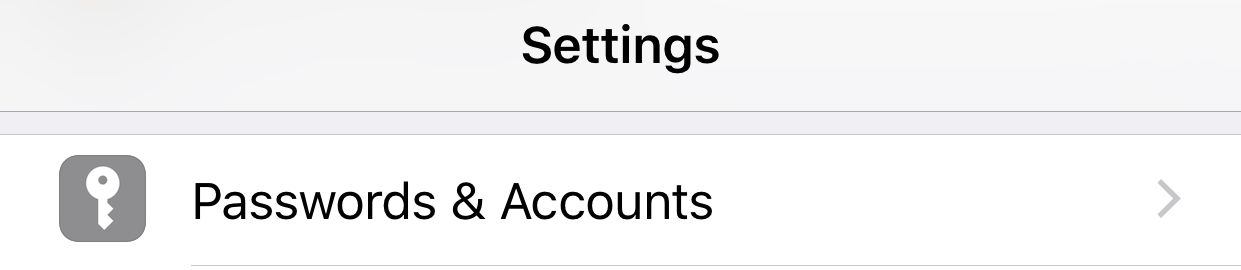
- Scroll down until you see the 'Passwords & Accounts' setting.
- Tap Passwords & Accounts.
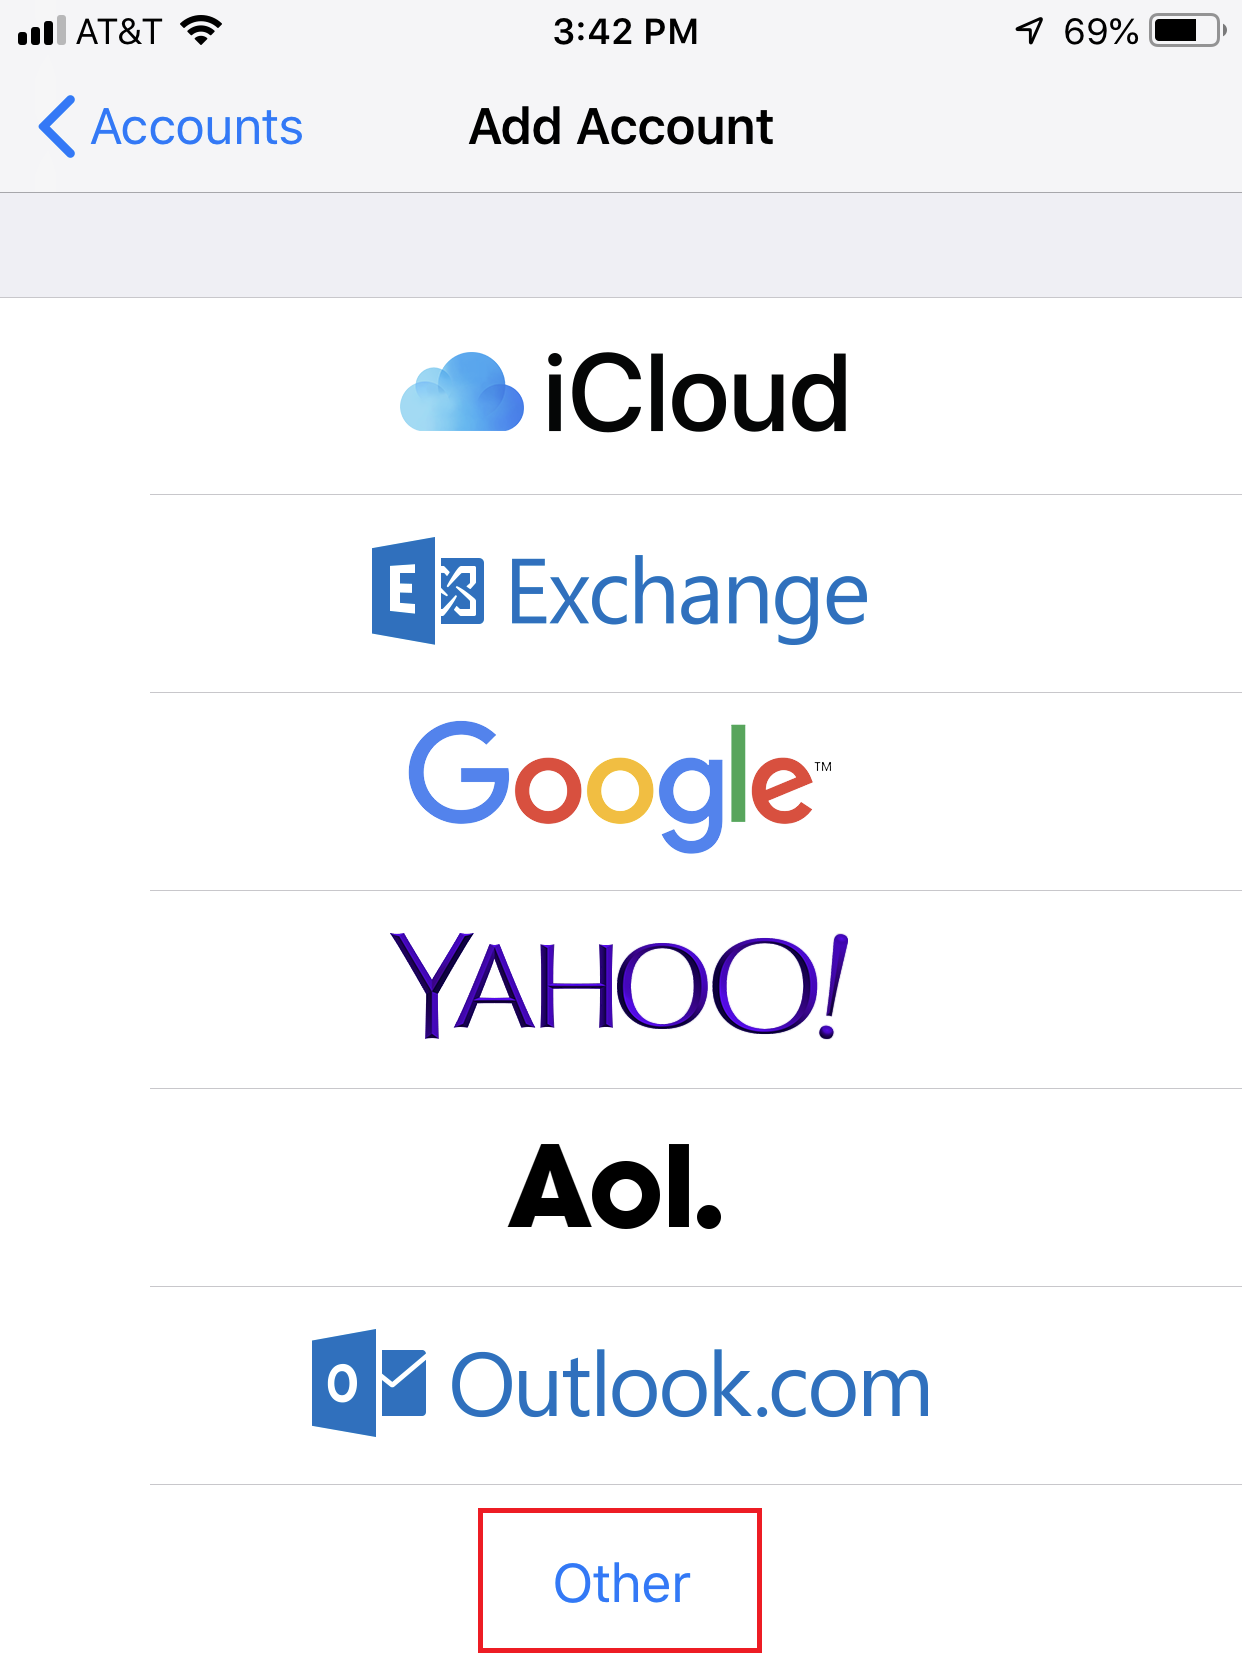
- Tap Add Account.
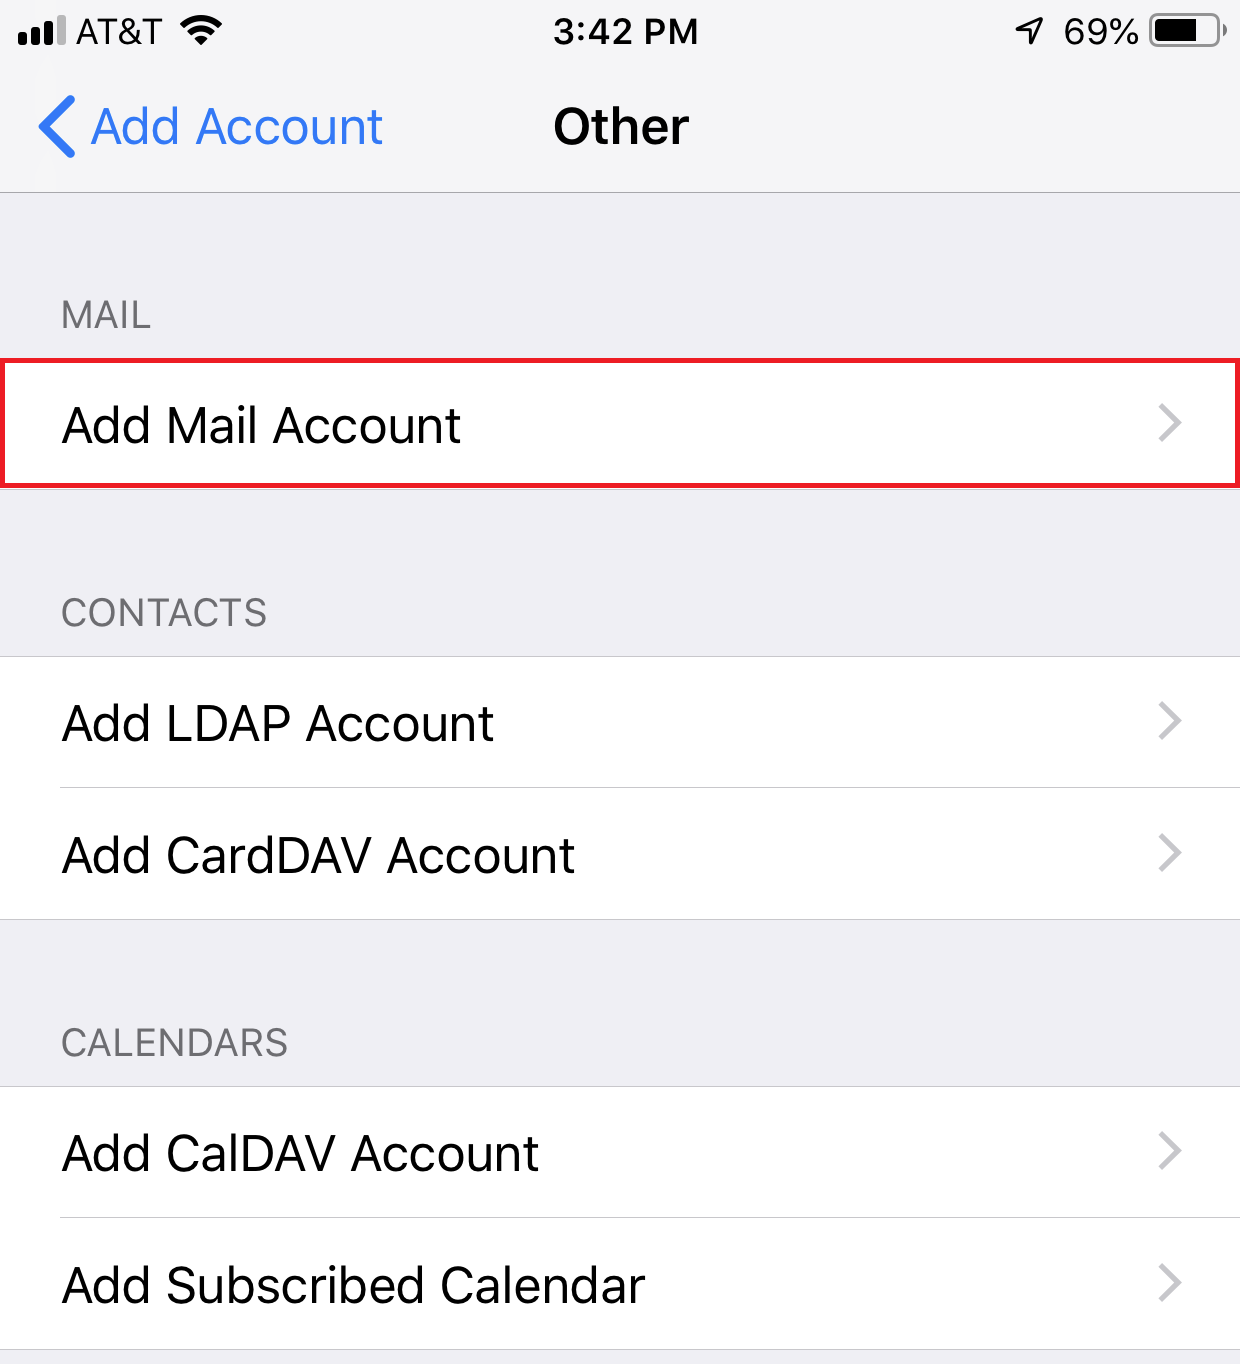
- Tap Other.
- Tap Add Mail Account.
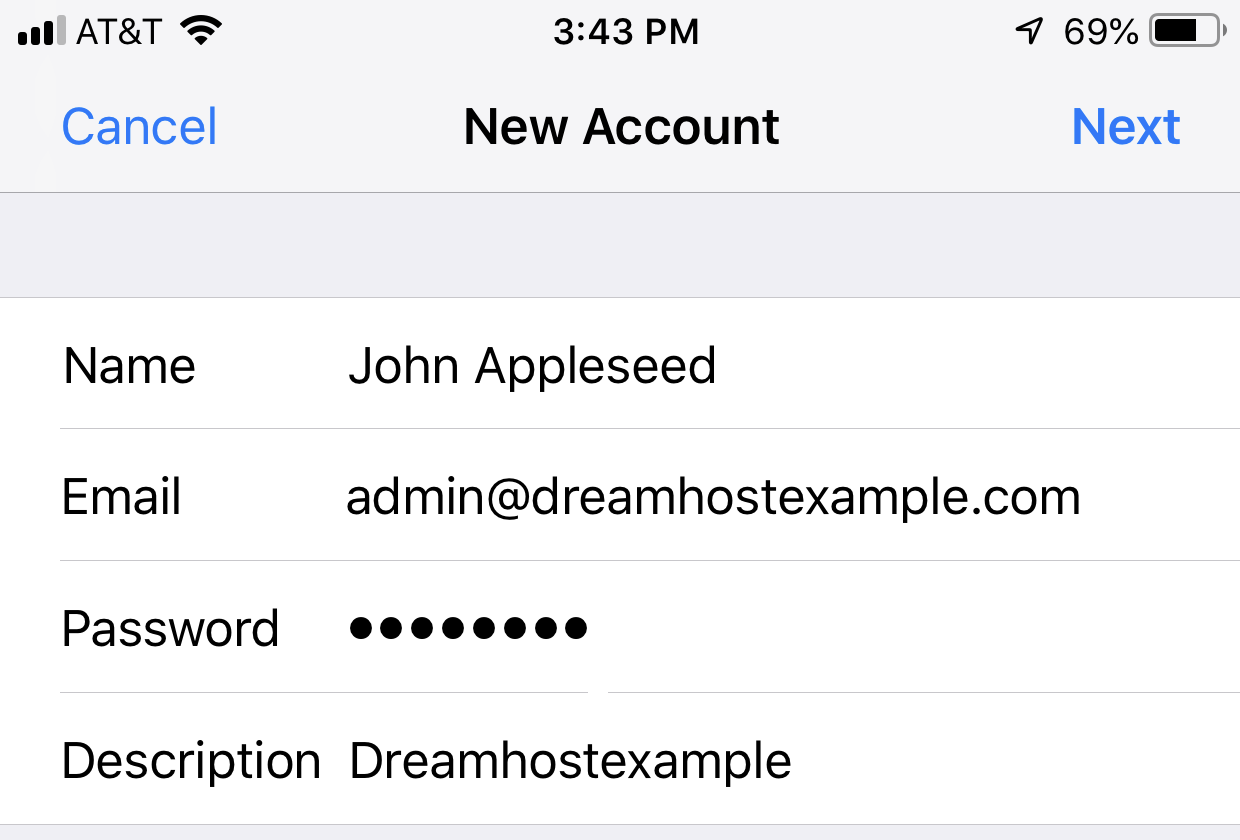
- The New Account page opens:
- Enter the following information for the email account:
- Name — Your name, which displays on the receiving end.
- Email — Your email address, which is where replies are sent to and should likely be the same as your username.
- Password — Your password.
- Description — Description of this account. This appears as the name of your address on the 'Settings' page of your phone.
- When finished entering your new account details, tap Next in the upper right corner.
- The MAIL SERVER settings page opens:

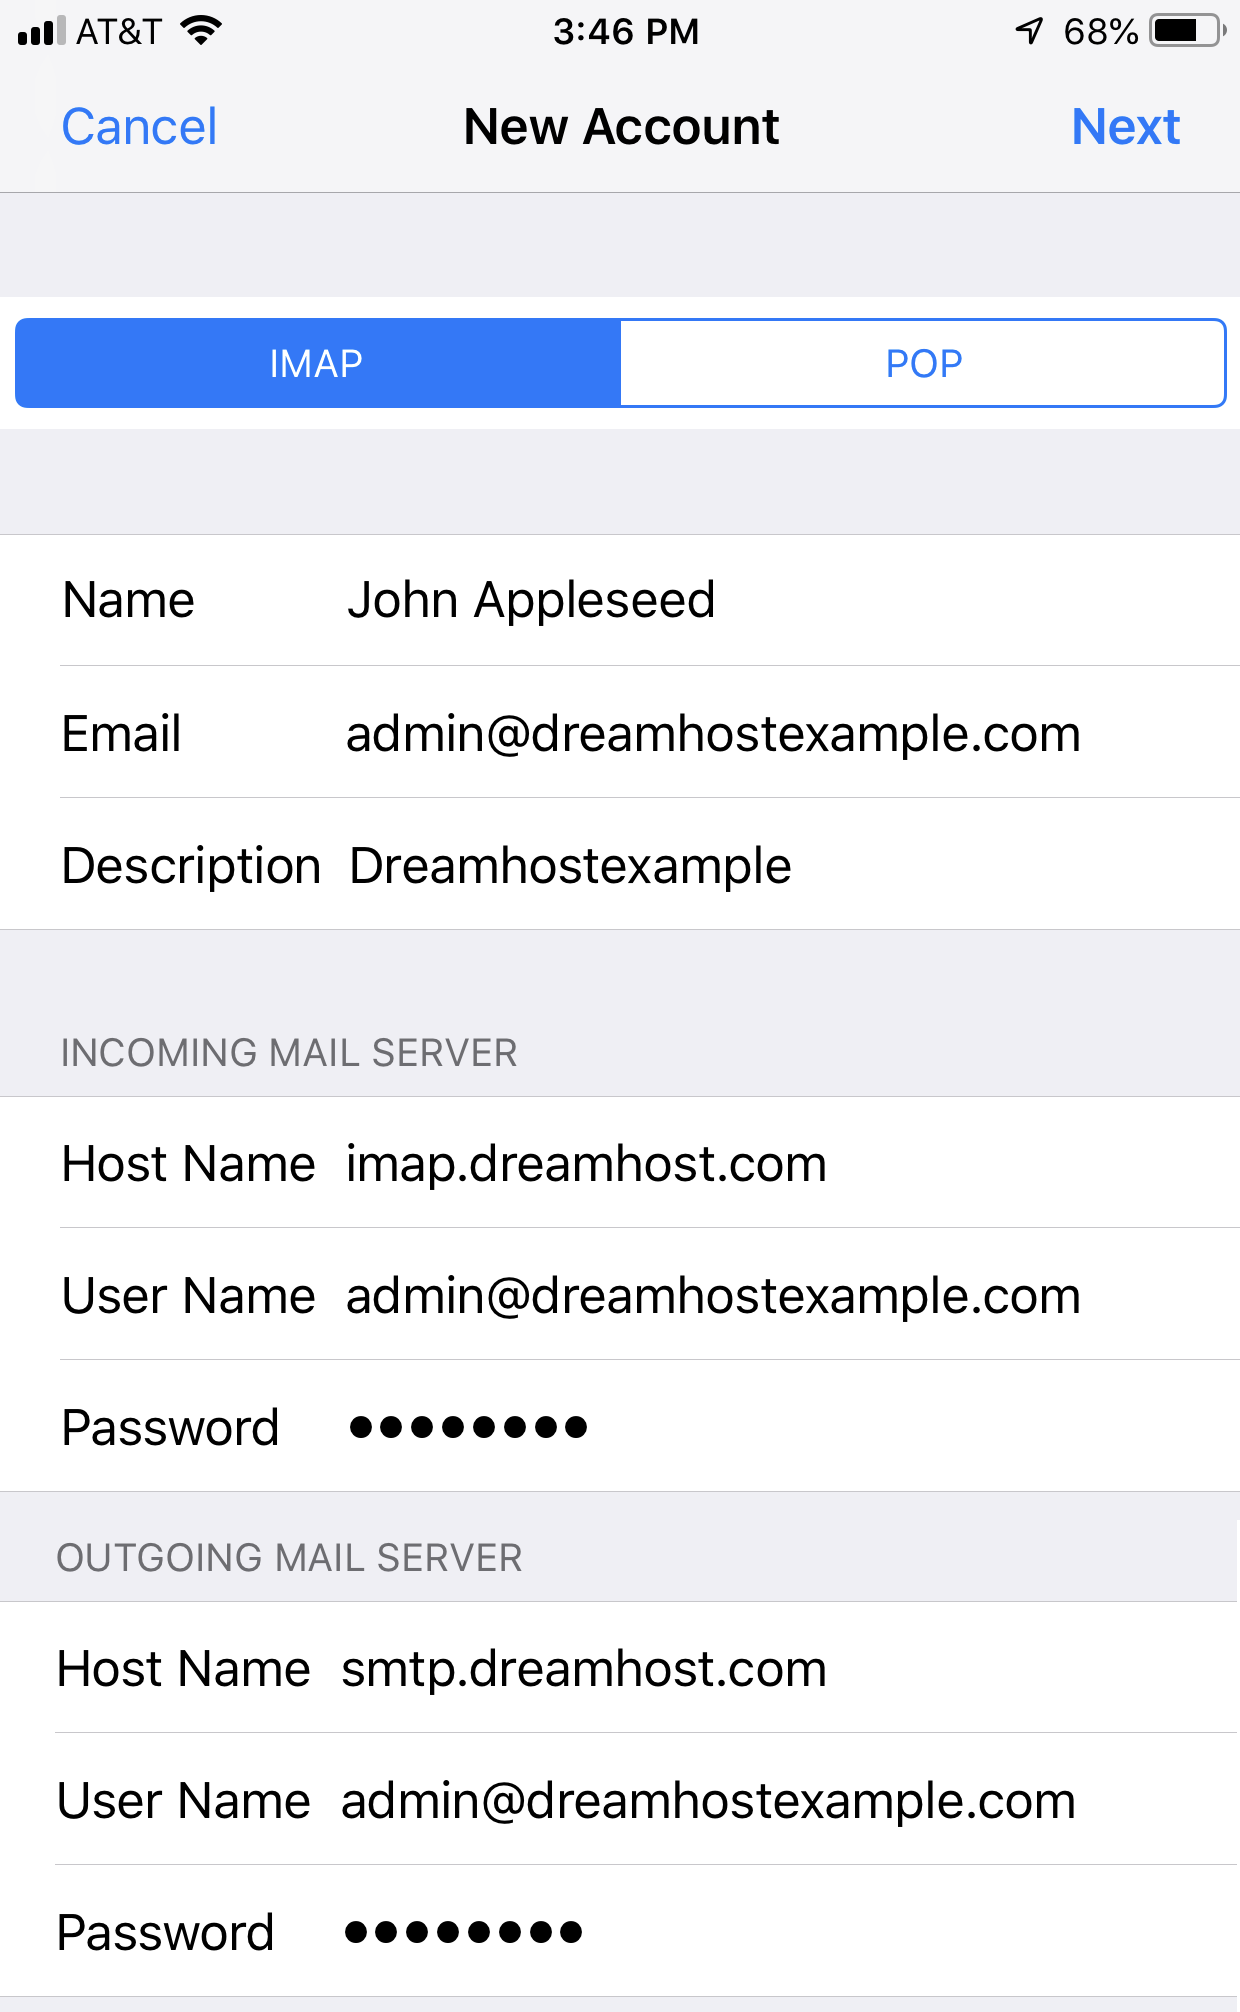
Make sure 'IMAP' is highlighted, and then enter the following information for the INCOMING and OUTGOING MAIL SERVER:
The email address 'admin@dreamhostexample.com' and the mail servers 'imap.dreamhost.com' and 'smtp.dreamhost.com' are shown as examples in the above screenshot. Be sure to enter your actual email address and mail servers into these fields.
Please see the Email Client Configuration for more information on mail server settings.
- INCOMING MAIL SERVER
-
- Host Name — Your mail server name. This is either imap.dreamhost.com or pop.dreamhost.com or if your server is in our Houston facility it is mail.yourname.com (SSL - veracruz.websitewelcome.com)
-
- Username — address@example.com (the email address you’re accessing.)
-
- Password — Password for the email address. If you don’t know what this is, you can request/reset it from the Manage Email section of your panel by clicking the Editbutton next to the address.
OUTGOING MAIL SERVER
- Host Name — Your mail server name. This is smtp.dreamhost.com or if your server is in our Houston facility it is mail.yourname.com (SSL - veracruz.websitewelcome.com)
- Username — address@example.com (the email address you’re accessing).
- Password — Password for the email address. If you don’t know what this is, you can request/reset it from the Manage Email section of your panel by clicking the Editbutton next to the address.
- When finished entering the new mail server details, tap Next in the upper right corner.
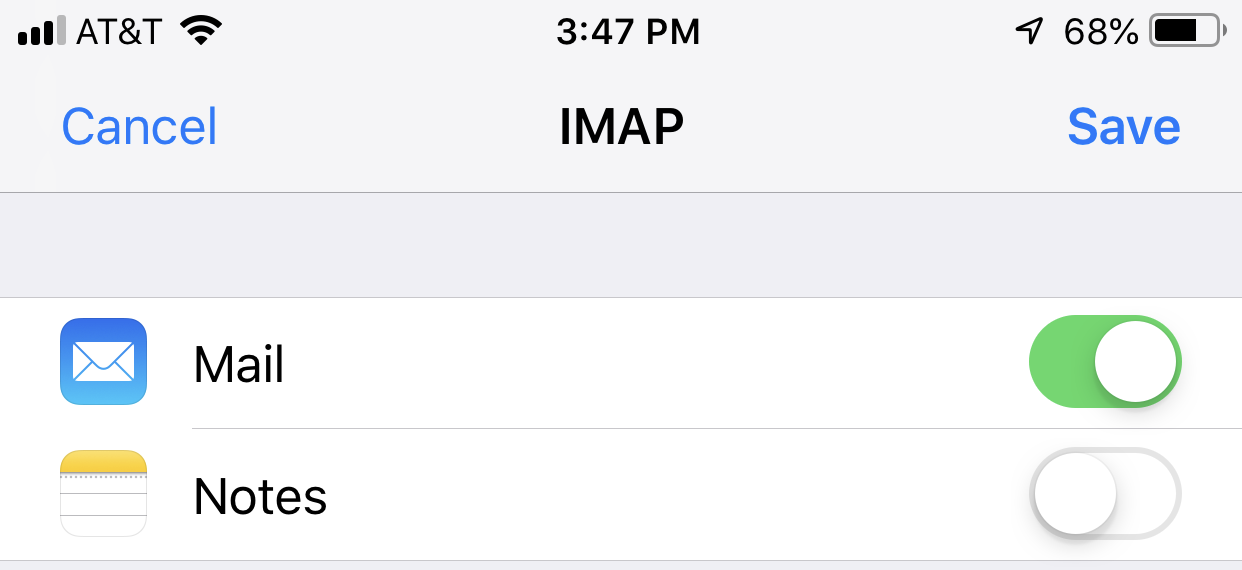
- The DreamHost mail server is contacted and verifies your email account:
- When the email account is successfully verified, the following page appears allowing you to save your new mail account:
- Tap Save in the upper right corner to finish setting up your new mail account.

Secure settings
Secure settings are enabled by default when you create the mail account. This means your port numbers are set to secure ports that use SSL when connecting to the mail server.
You can view your settings by following these steps:
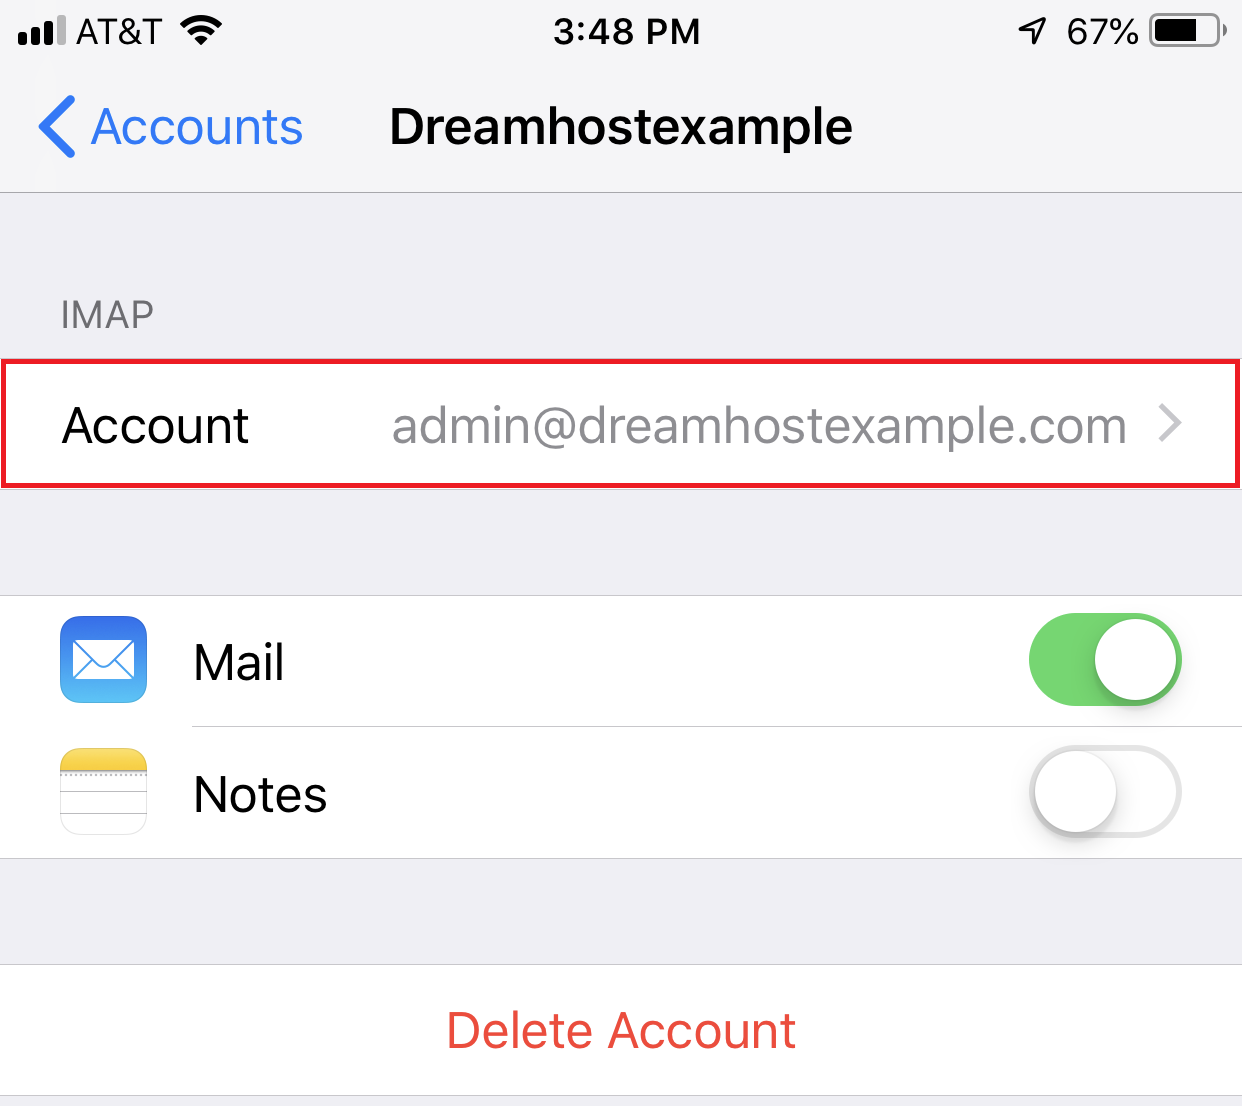
- Navigate to (Settings > Passwords & Accounts).
- Tap a DreamHost email account.
- Tap 'Account' to view the basic settings.
- To view your secure settings, tap 'Advanced' towards the bottom.
- Scroll down to view all settings.
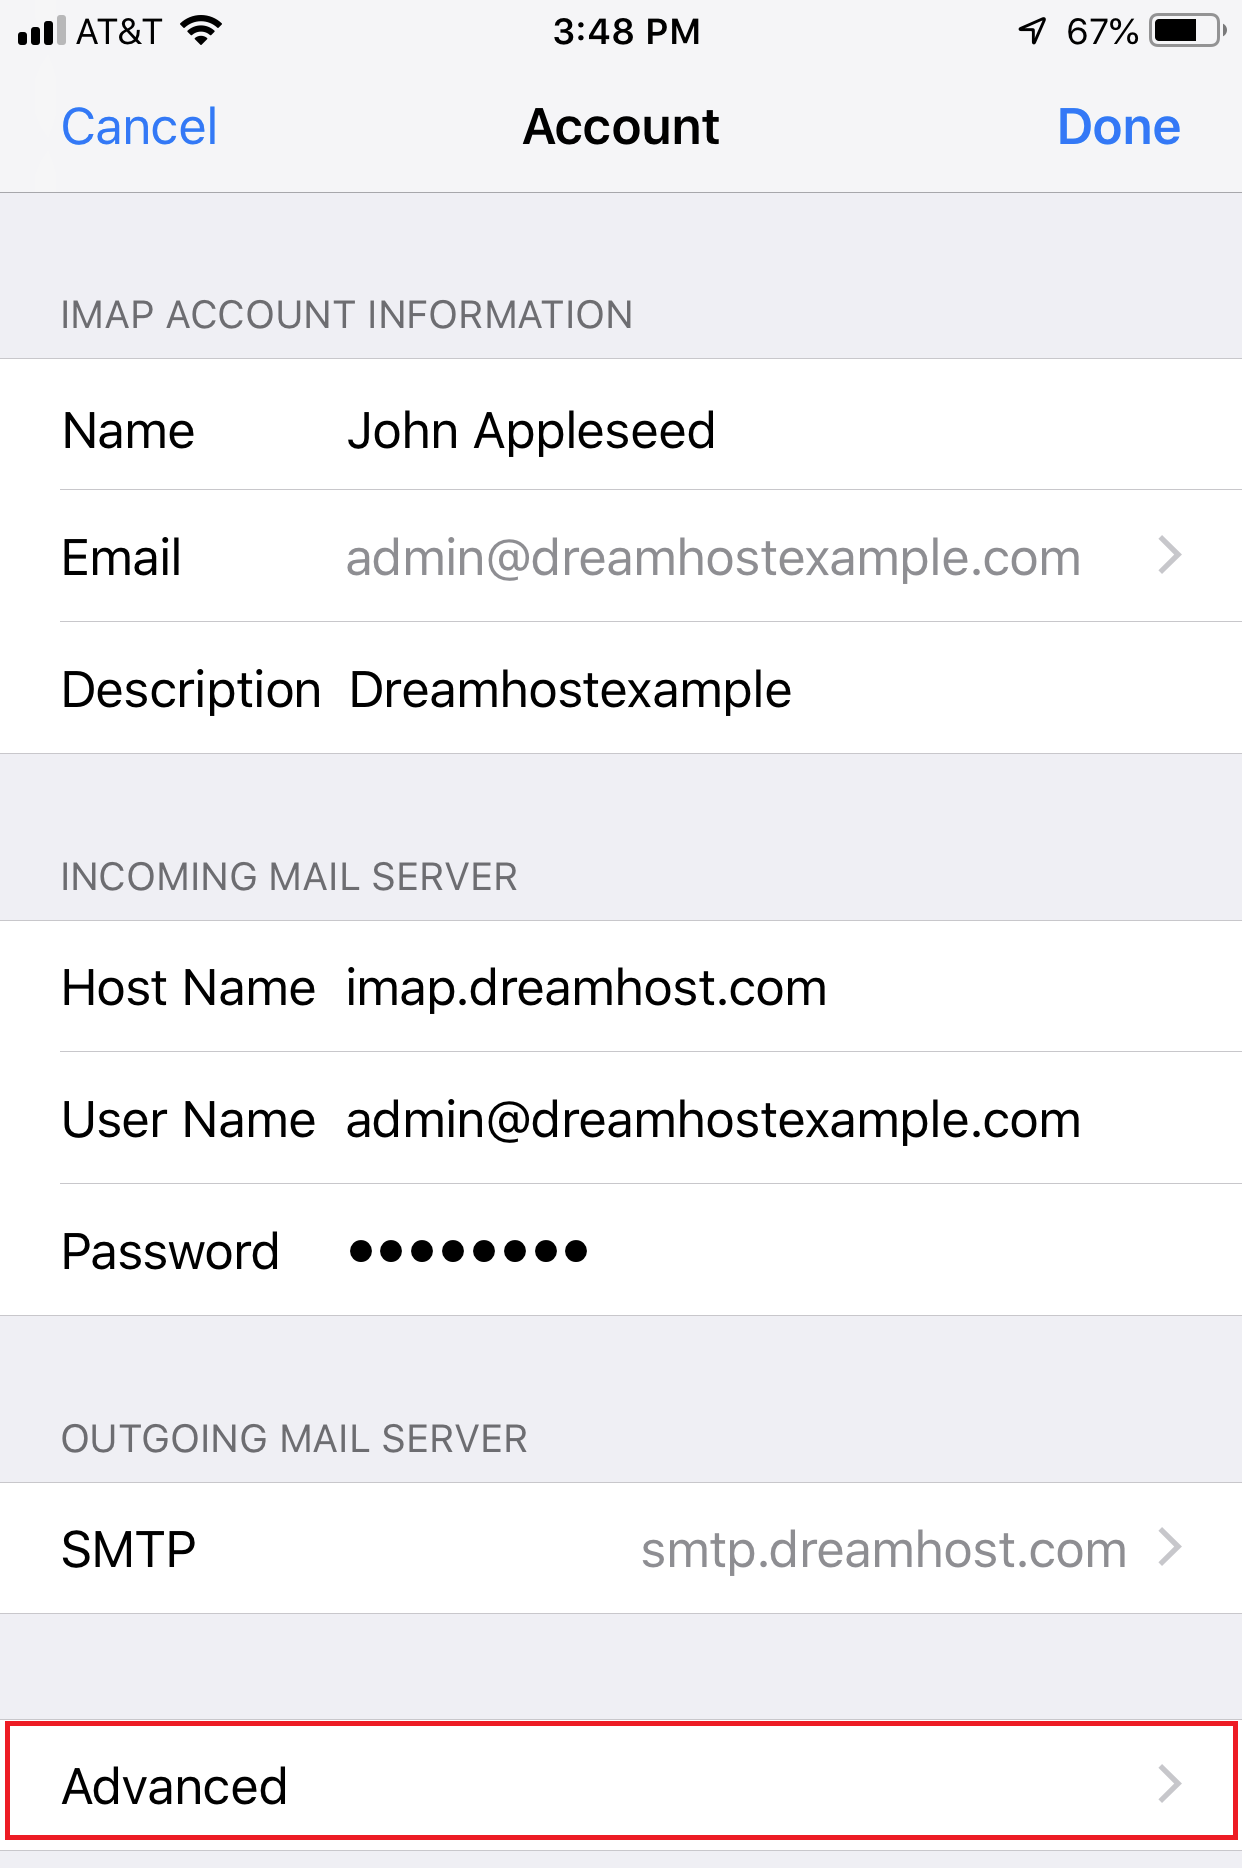
It's not recommended you change these value as they should already be set to use secure settings.
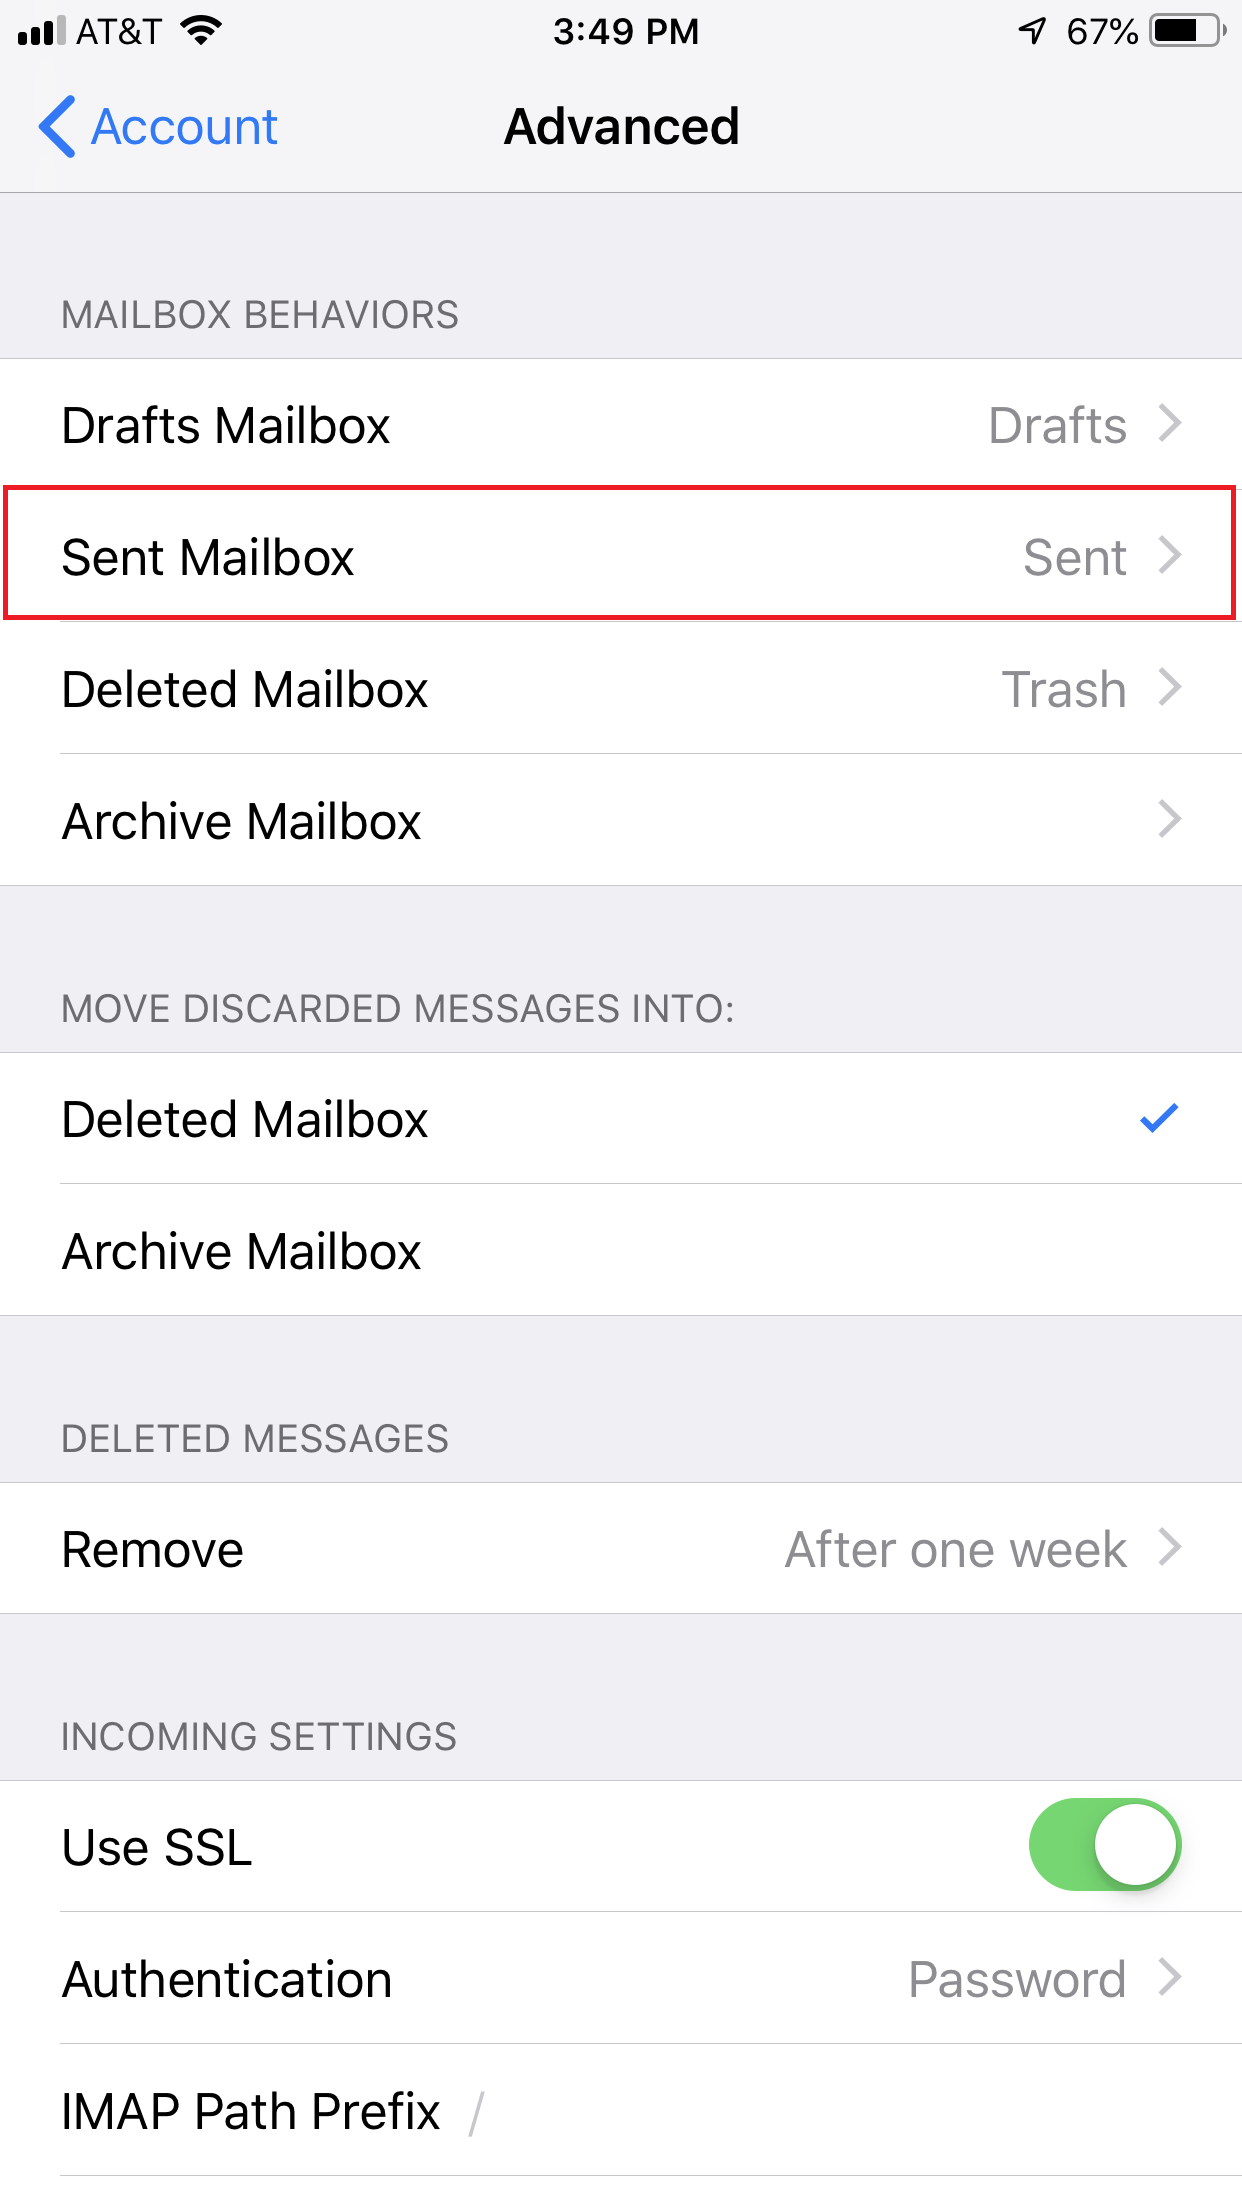
Mailbox Behaviors
Depending on your iPhone iOS version and configuration, you may need to adjust the 'Mailbox Behavior' settings to ensure that your email appears in the designated folder on the DreamHost mail server. This includes the following folders:
- Drafts
- Sent
- Deleted
- Archive
The following example describes how to change the configuration for 'Sent' email to appear on the DreamHost mail server (instead of on your iPhone):
- Navigate to (Settings > Passwords & Accounts).
- Tap a DreamHost email account.
- Tap 'Account' to view the basic settings.
- Tap 'Advanced' towards the bottom.
- Tap 'Sent Mailbox'.
- Tap 'Sent Messages' under the ON THE SERVER section.
- When finished, tap 'Advanced > Account > Done' at the top.
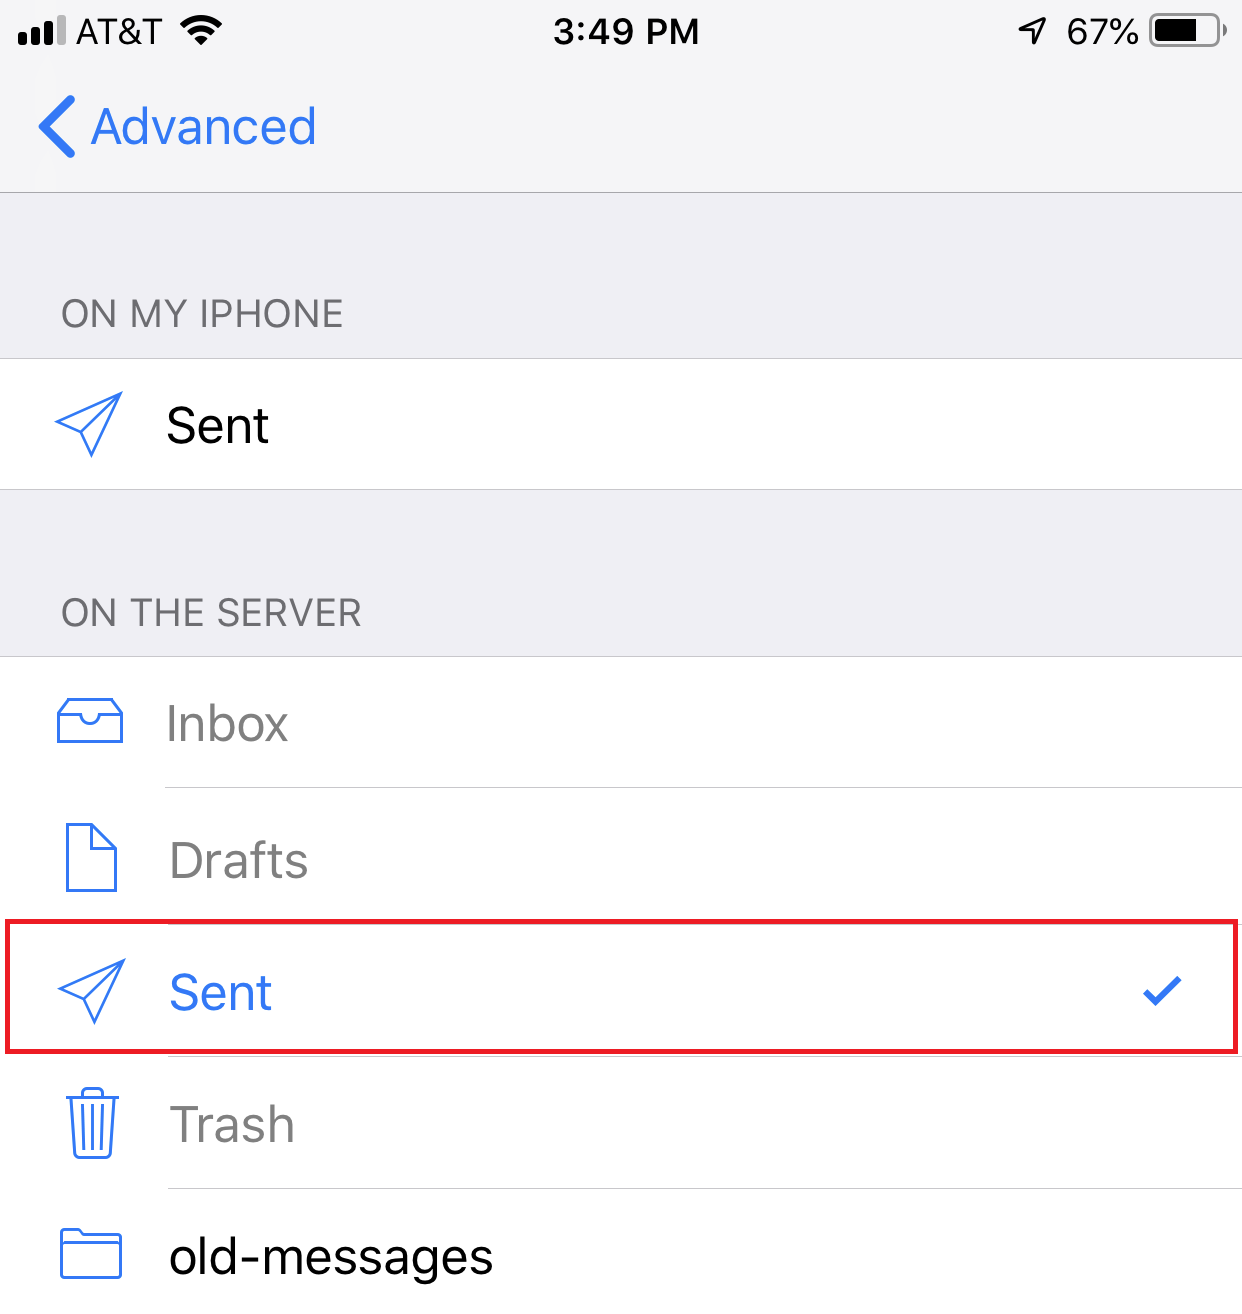
Your sent messages now appear on the mail server instead of on your iPhone folder.
Push and Fetch settings
'Push' is not available with a DreamHost email account. You must use 'Fetch' or 'Manual'. View the following article for further details:
Troubleshooting
I've added a DreamHost mail account to my iPhone, but it won't connect
The iPhone automatically detects the rest of the settings and connects to your mailbox. However, in some cases, it may not properly connect the first few times. You may need to tap the Connectbutton several times before it connects properly. This is a known issue within the mail program on the iPhone that can cause this behavior.
You can make the following changes in the Advanced section if you are experiencing any sync issues:
- You must set the IMAP Path Prefix to INBOX (all caps) for IMAP clients to work properly with DreamHost servers. Most desktop email clients work normally but instead show all the folders under the Inbox as sub folders rather than alongside it.
- For sent messages, tap 'Sent Mailbox' under the 'MAILBOX BEHAVIORS' section, and then tap the folder you wish to use for sent messages (in the 'ON THE SERVER' section). The current choice has a paper airplane next to it.
The 'Cannot Verify Server Identity' message appears
If you enter your website's hostname (mail.example.com) instead of your mail server name(imap.dreamhost.com or pop.dreamhost.com), the following message appears after you connect:
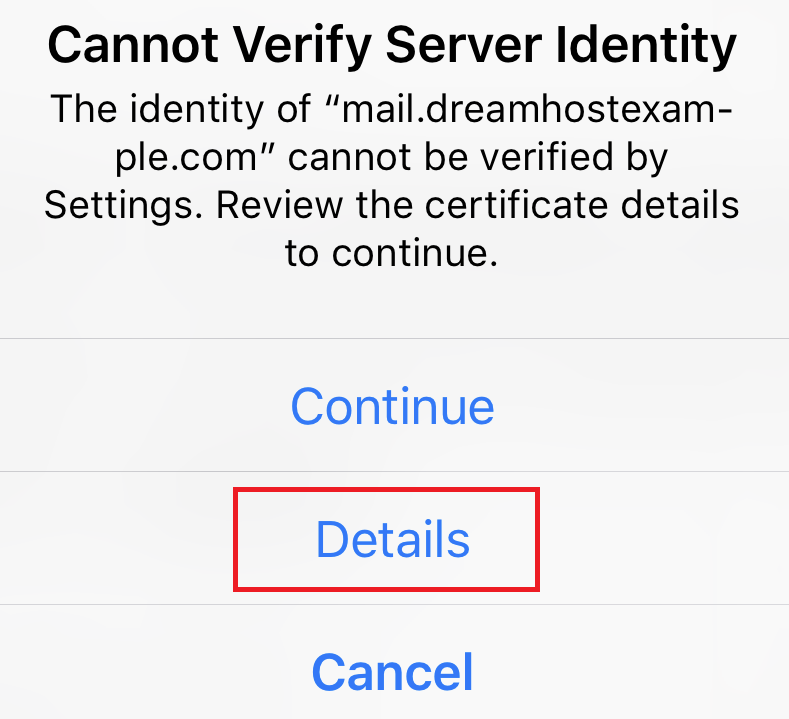
- To fix, tap Details.
- The Certificate page opens:
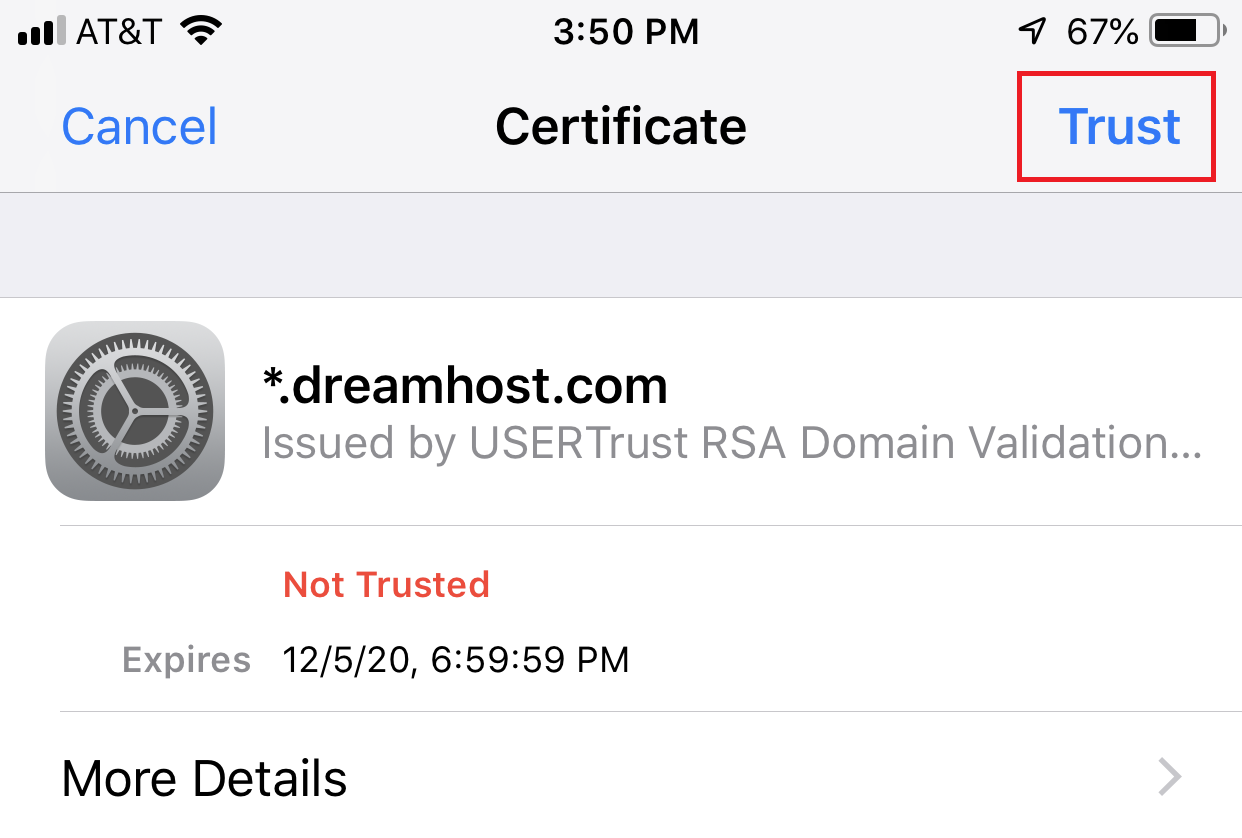
- Tap Trust to enable the certificate, and then save your changes. For more information, visit the Certificate domain mismatch error article.
The better option however is to use your mail servername.
Where can I find more information?
If you are having trouble and suspect that you may have set something incorrectly, please refer to the Email Client Configuration article or contact DreamHost support.
How can I manually choose POP3 or IMAP on my iPhone?
Recent versions of the iOS mail client attempt to auto-detect whether the server supports POP3 or IMAP and select either accordingly. To make the choice manually, enter an incorrect email address into the 'Settings' page on your iPhone, e.g., [a bogus email address]@[your domain]. The settings will then not auto-detect, and you can select which protocol you wish to use. Don't forget to fix your email address to [your correct email address]@[your domain].